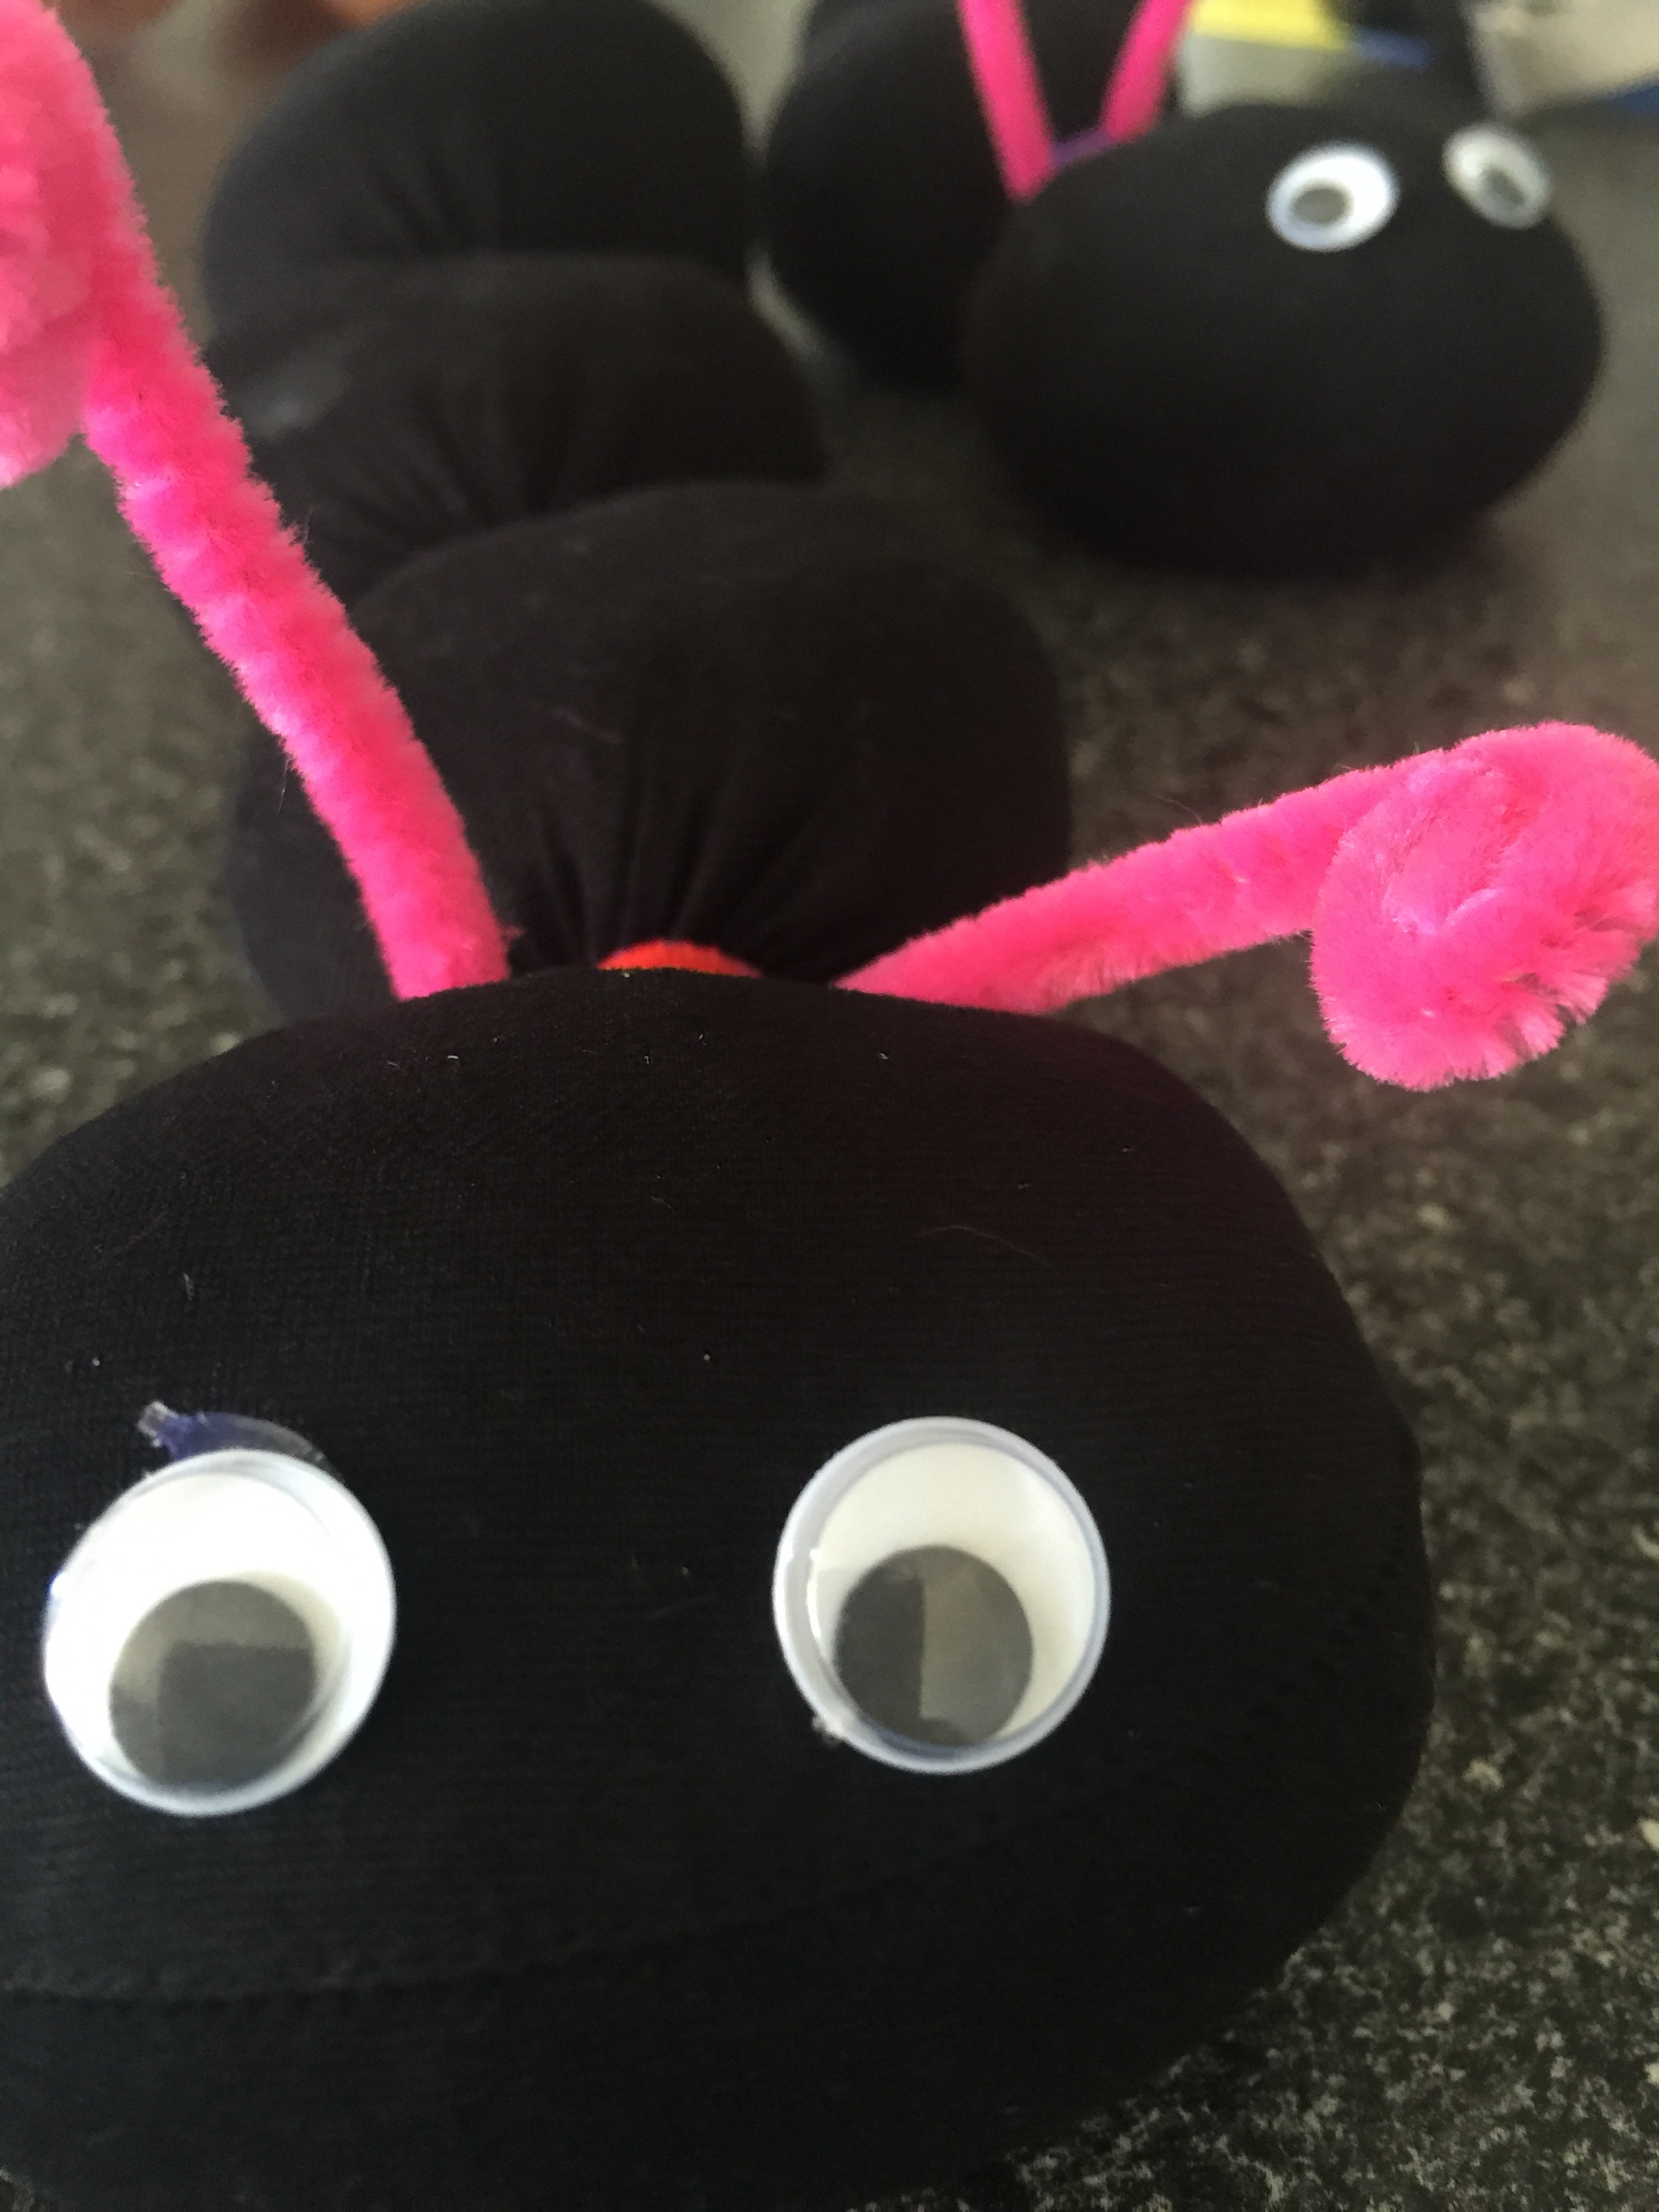
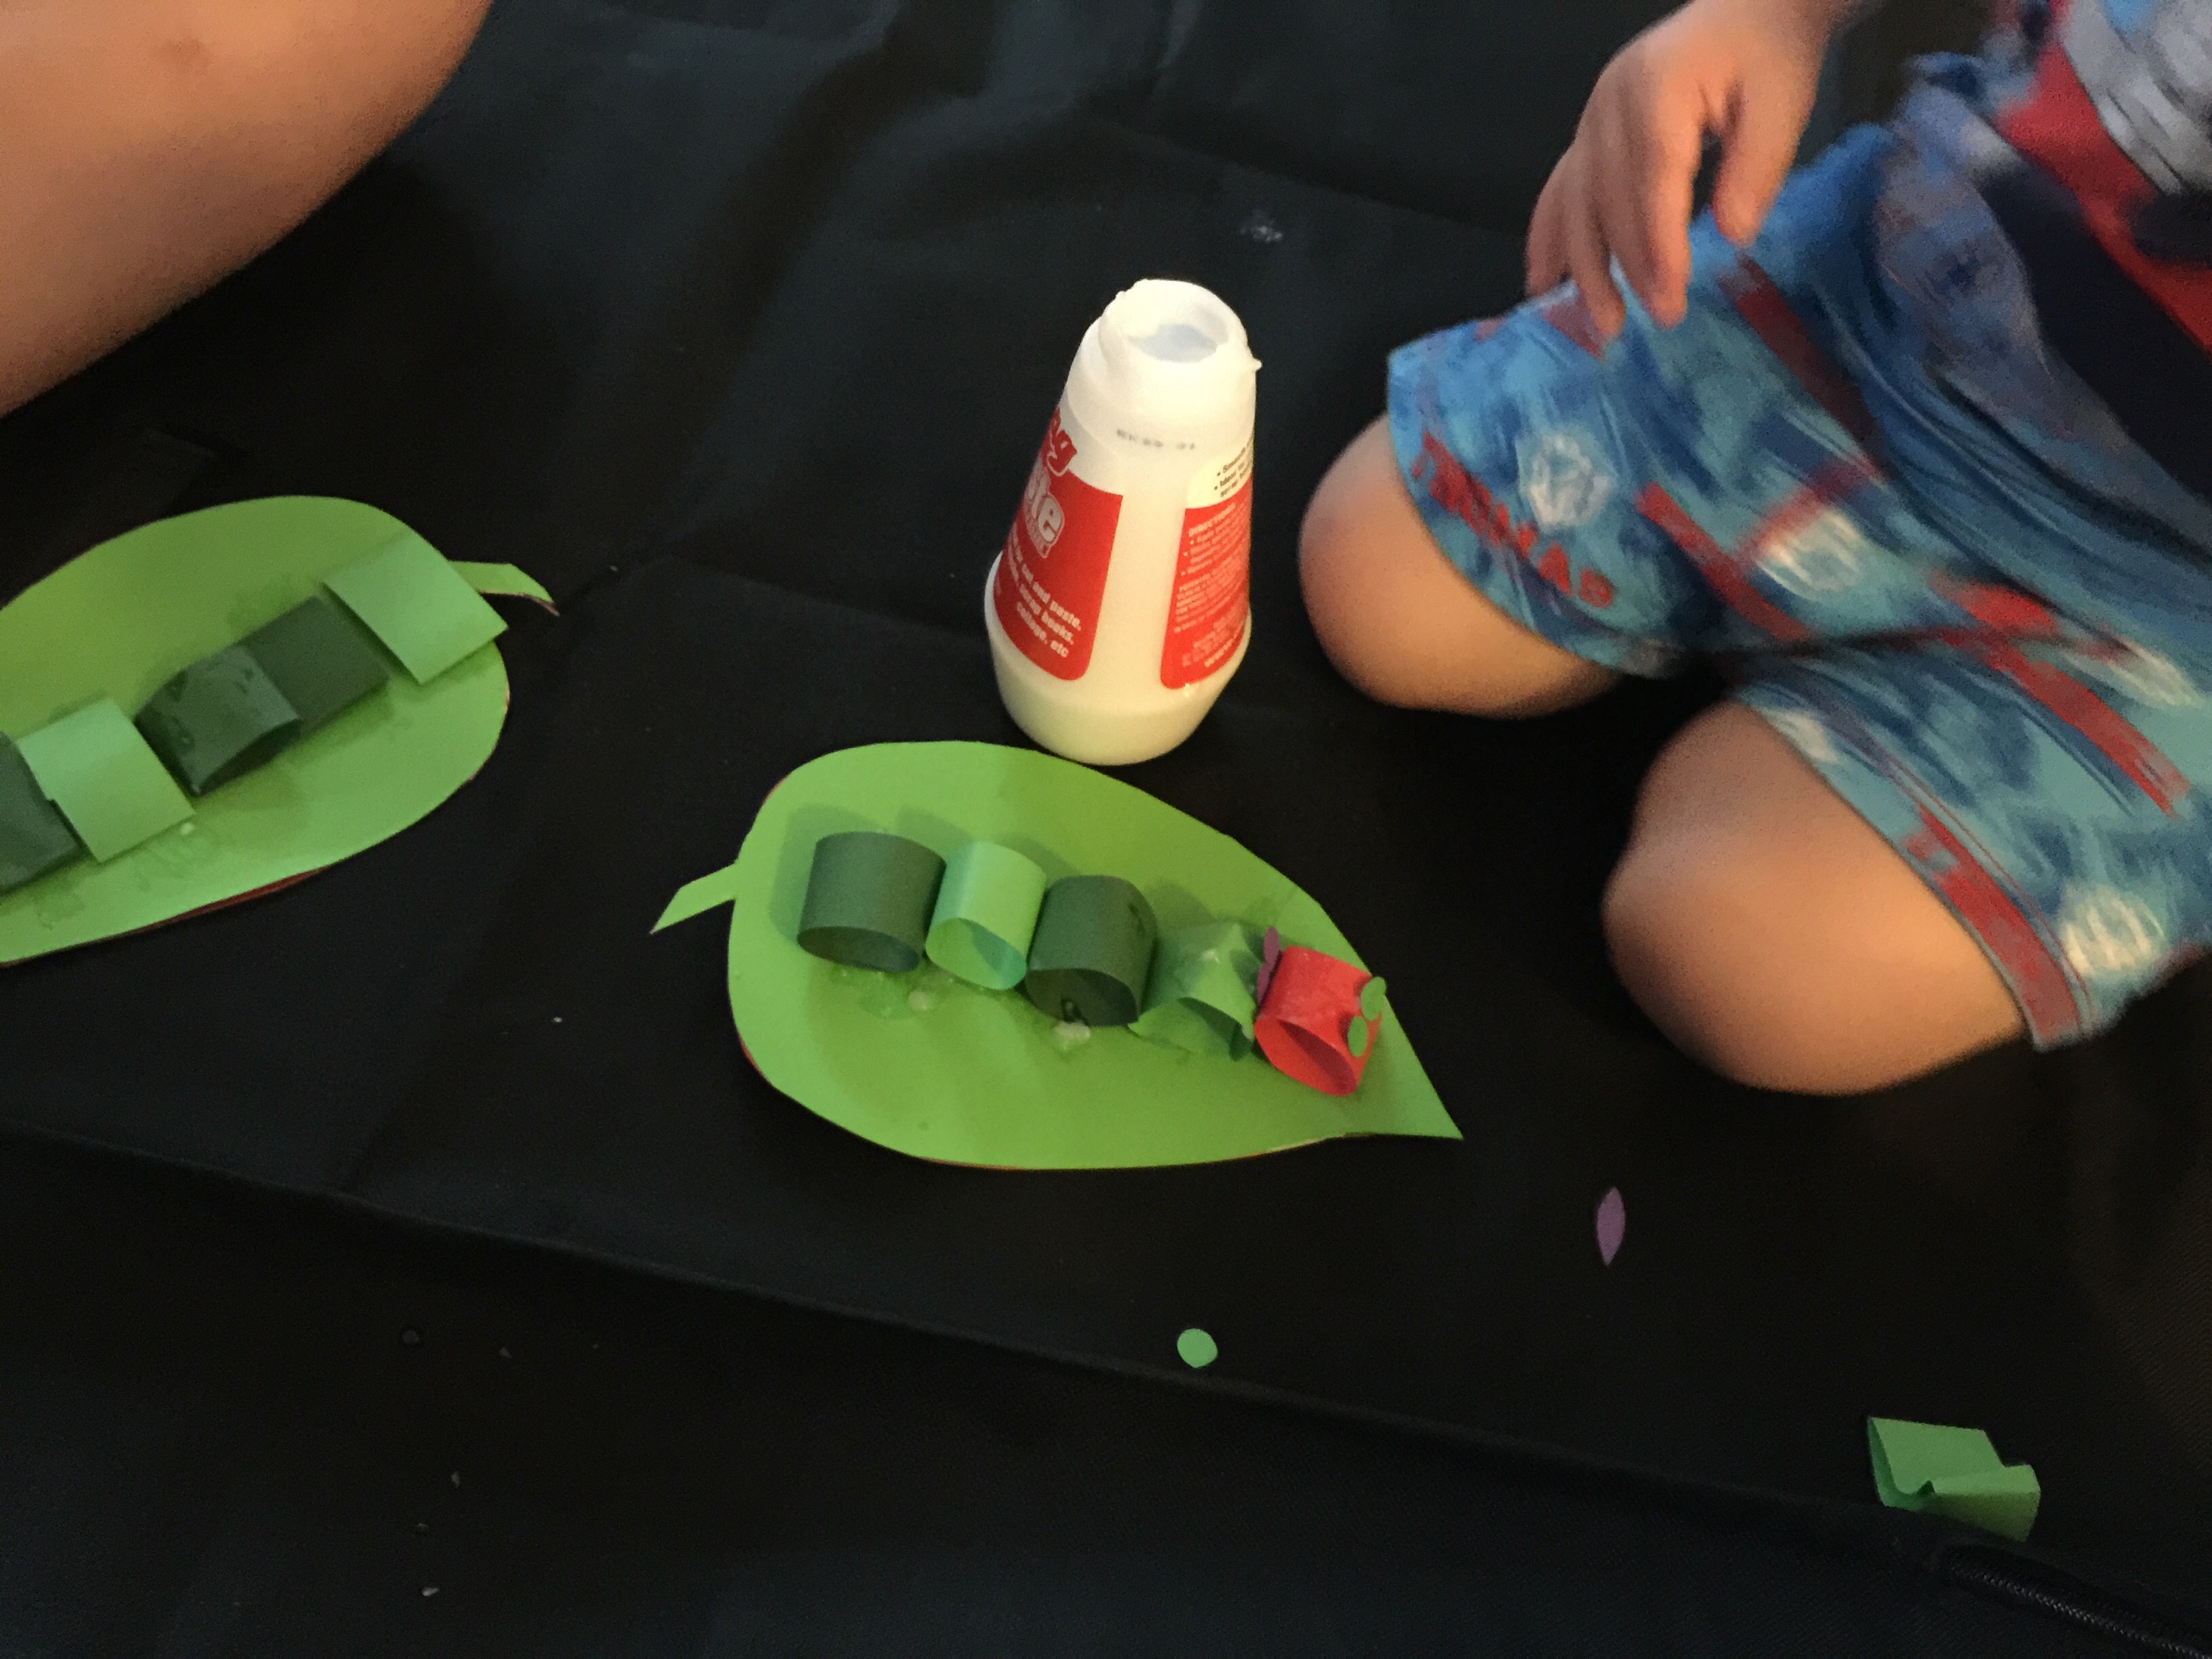
I think I was looking forward to this scene more than the kids were or should I say kid. My daughter had the biggest meltdown at the prospect of this activity and just wanted to watch her show. I knew that when she saw the finished product that she would want one for herself. So I made her one.
Today we explored the butterfly, such an imaginative and colourful piece.
Things you will need:
Cellophane- colours of your choice
White paper
Texts permanent
Scissors
Pva glue
Paintbrushes
Clear contact
Clear a4 film paper ( or a laminate paper)

Start by drawing your butterfly on your white piece of paper ( when I get to a computer later I will update a Pdf file that you can use)
Once completed I put the film over the drawing and stuck it on by using Blu Tack. I cut up all the cellophane and set it up on a plate.
Frugal tip #1 you can water down most Pva glue and it will still have the desired effect you want for this activity.

Use the guidelines to support where you are flying and placing the cellophane.
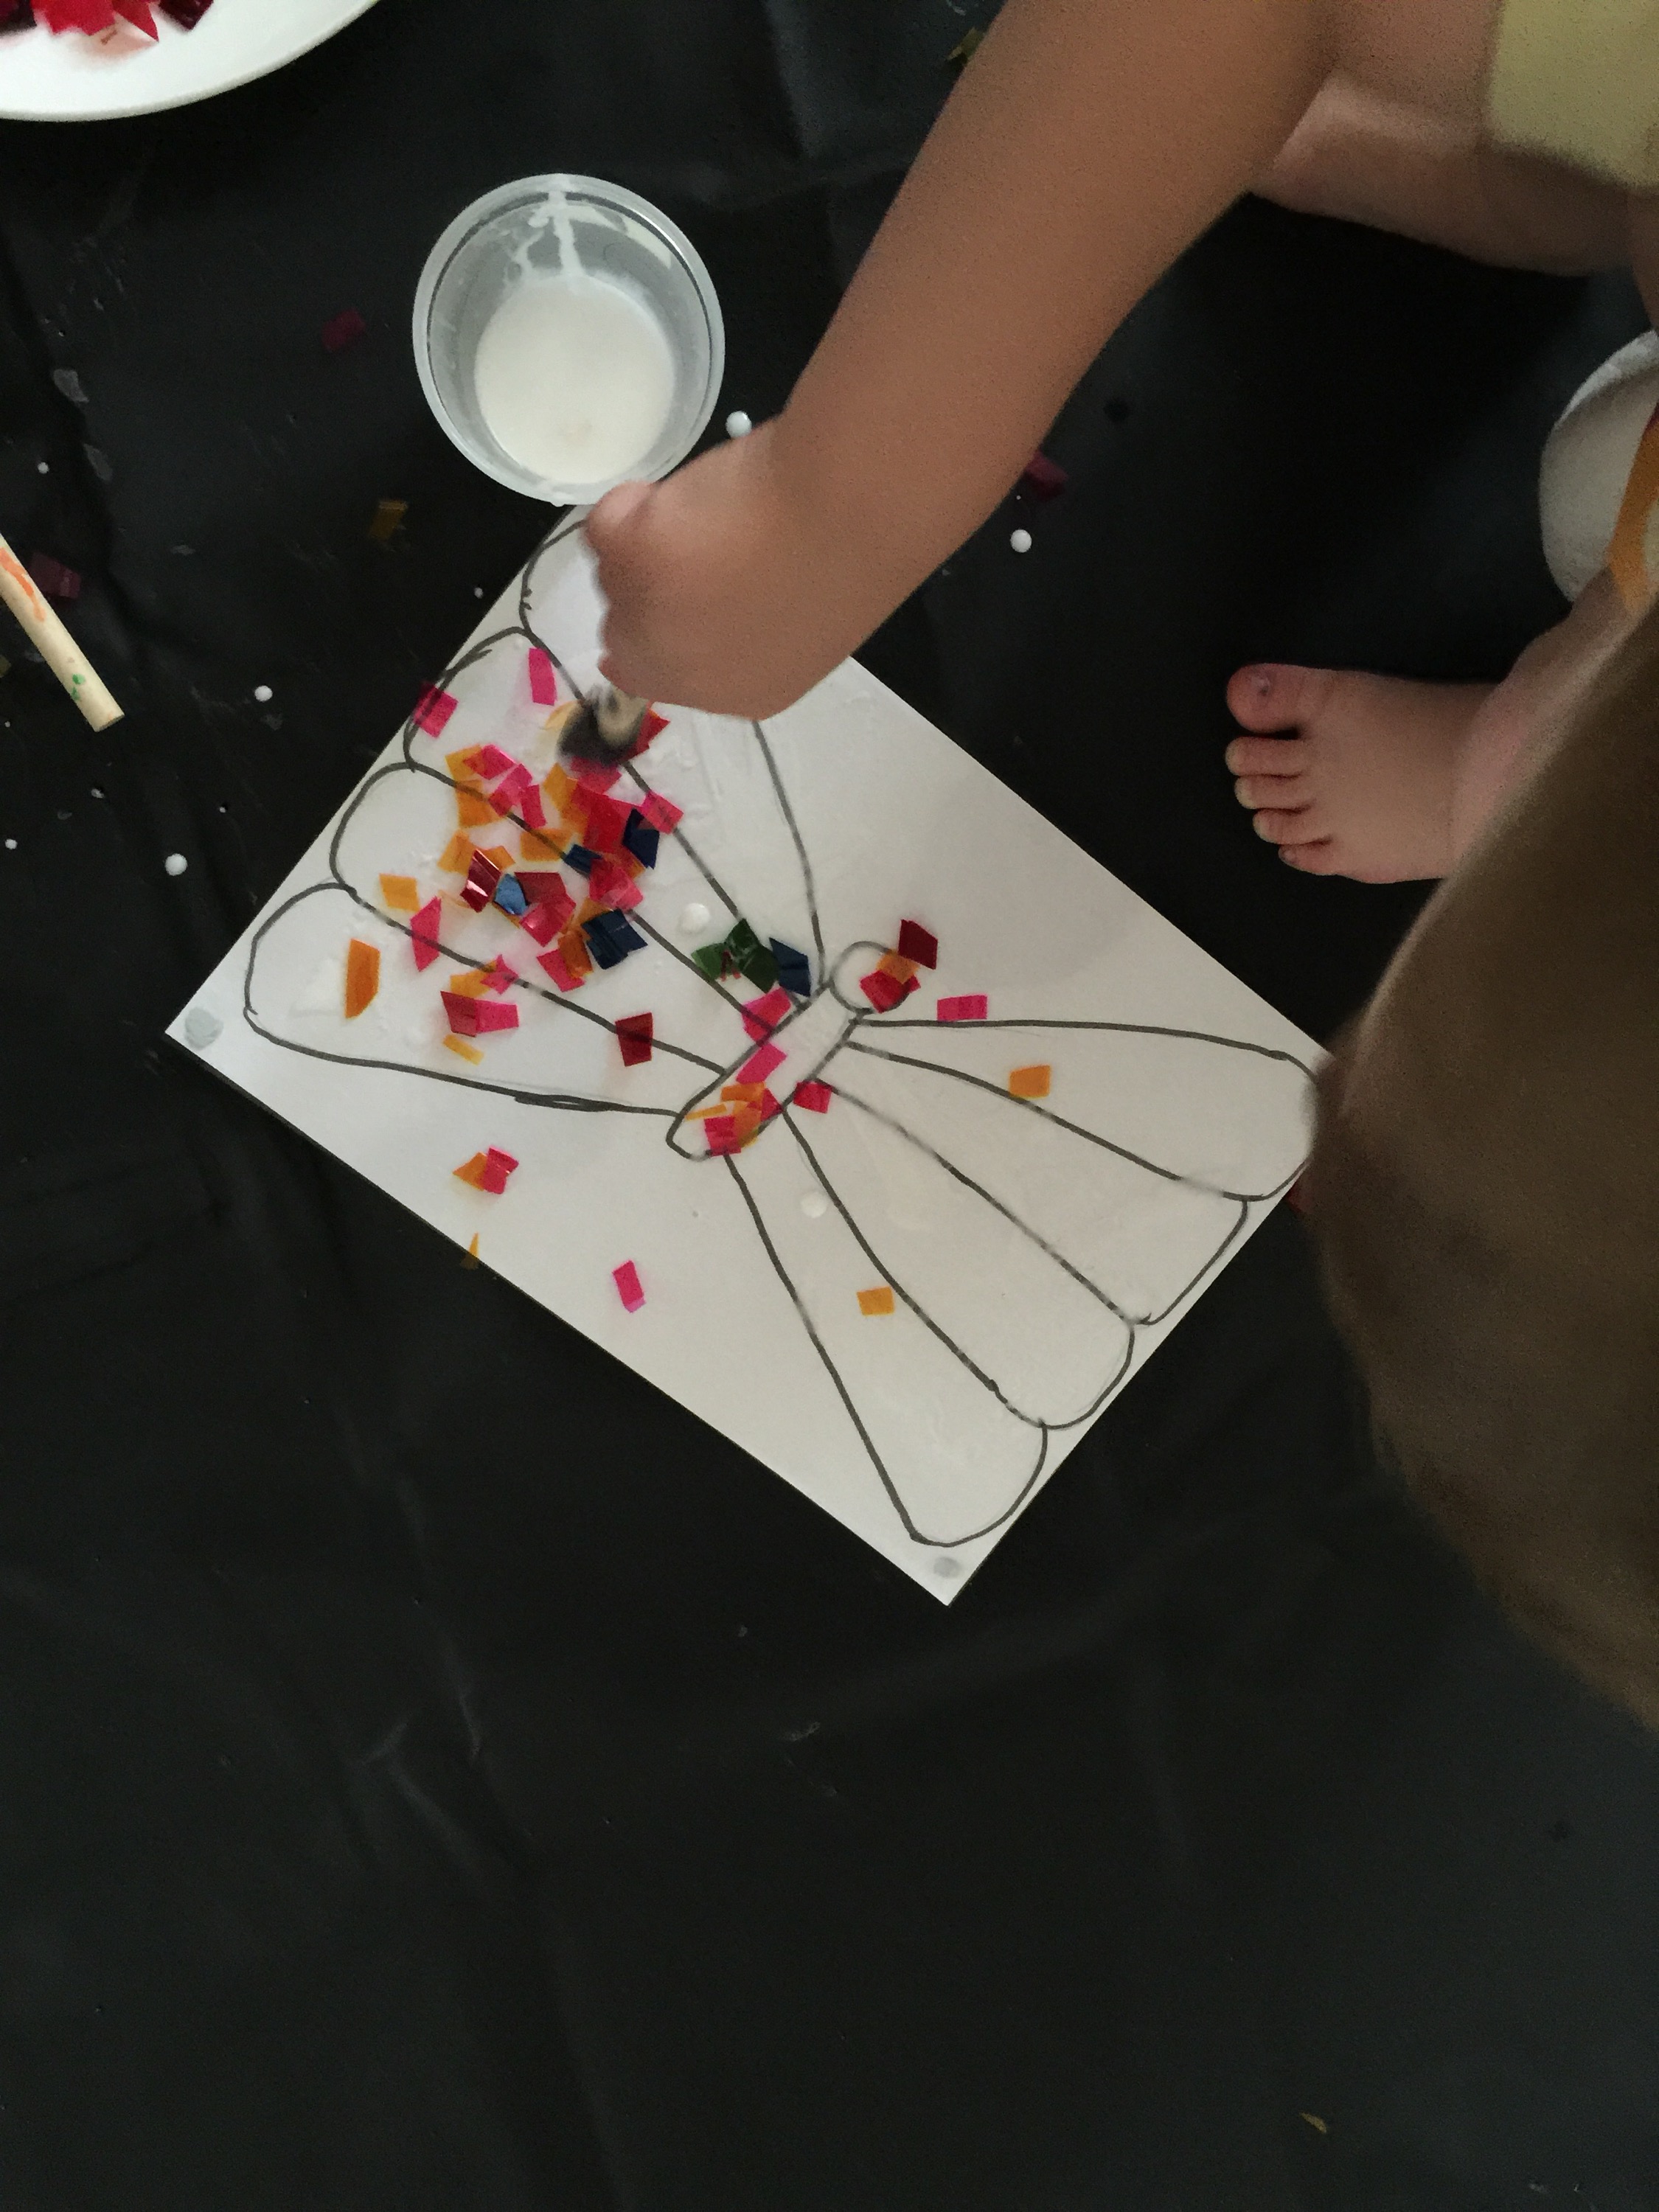
The only thing that went wrong I think was that I cut the cellophane on a corner edging and it made all the pieces very hard to unfold.

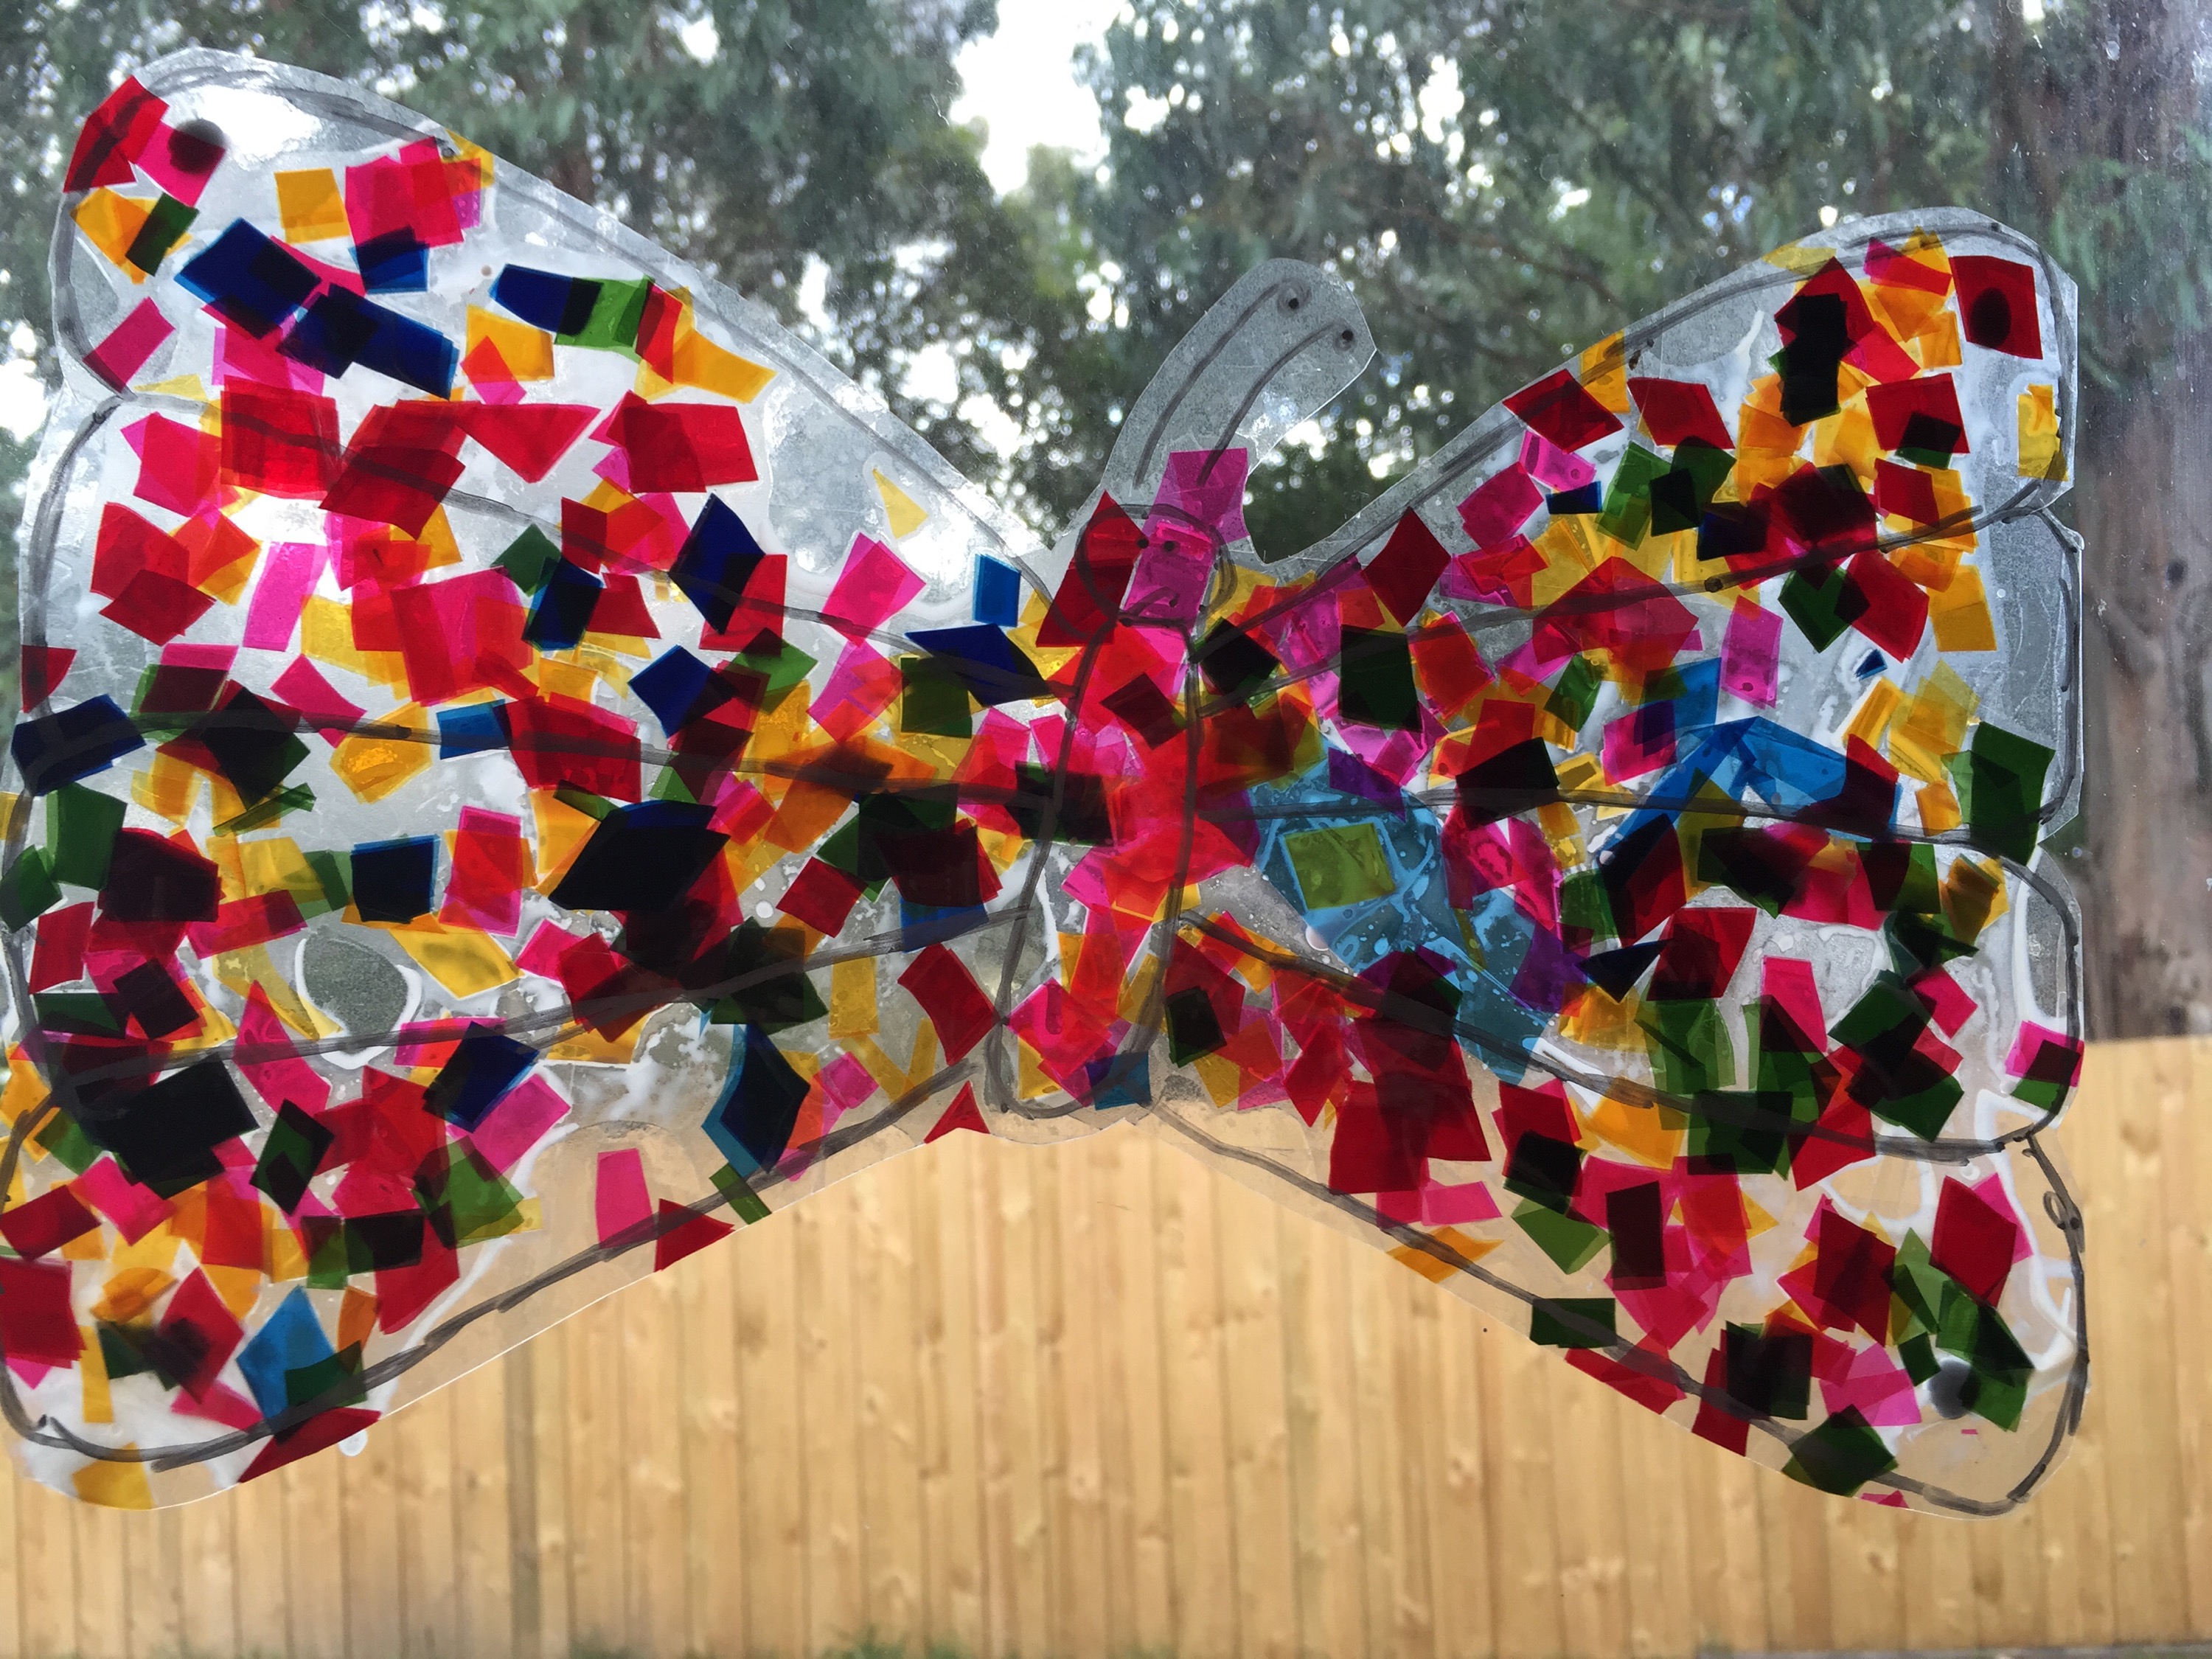
When the pieces are dry cut out a piece of contact. Remove whit paper and Blu Tack from you butterfly. Apply contact and cut out the butterfly shape.
Frugal Tip #2 keep the paper backing off your contact and use it as scrap graphs paper.

Add as much or as little detail with a permanent marker as you like.
Hang on a window and enjoy the beautiful colours that shine through it.

My daughter once seeing they were finished claimed mine as hers. I always try to use these meltdowns as teachable moments.
UPDATE: BUTTERFLY TEMPLATE