Day 4 – the Very Hungry Caterpillar

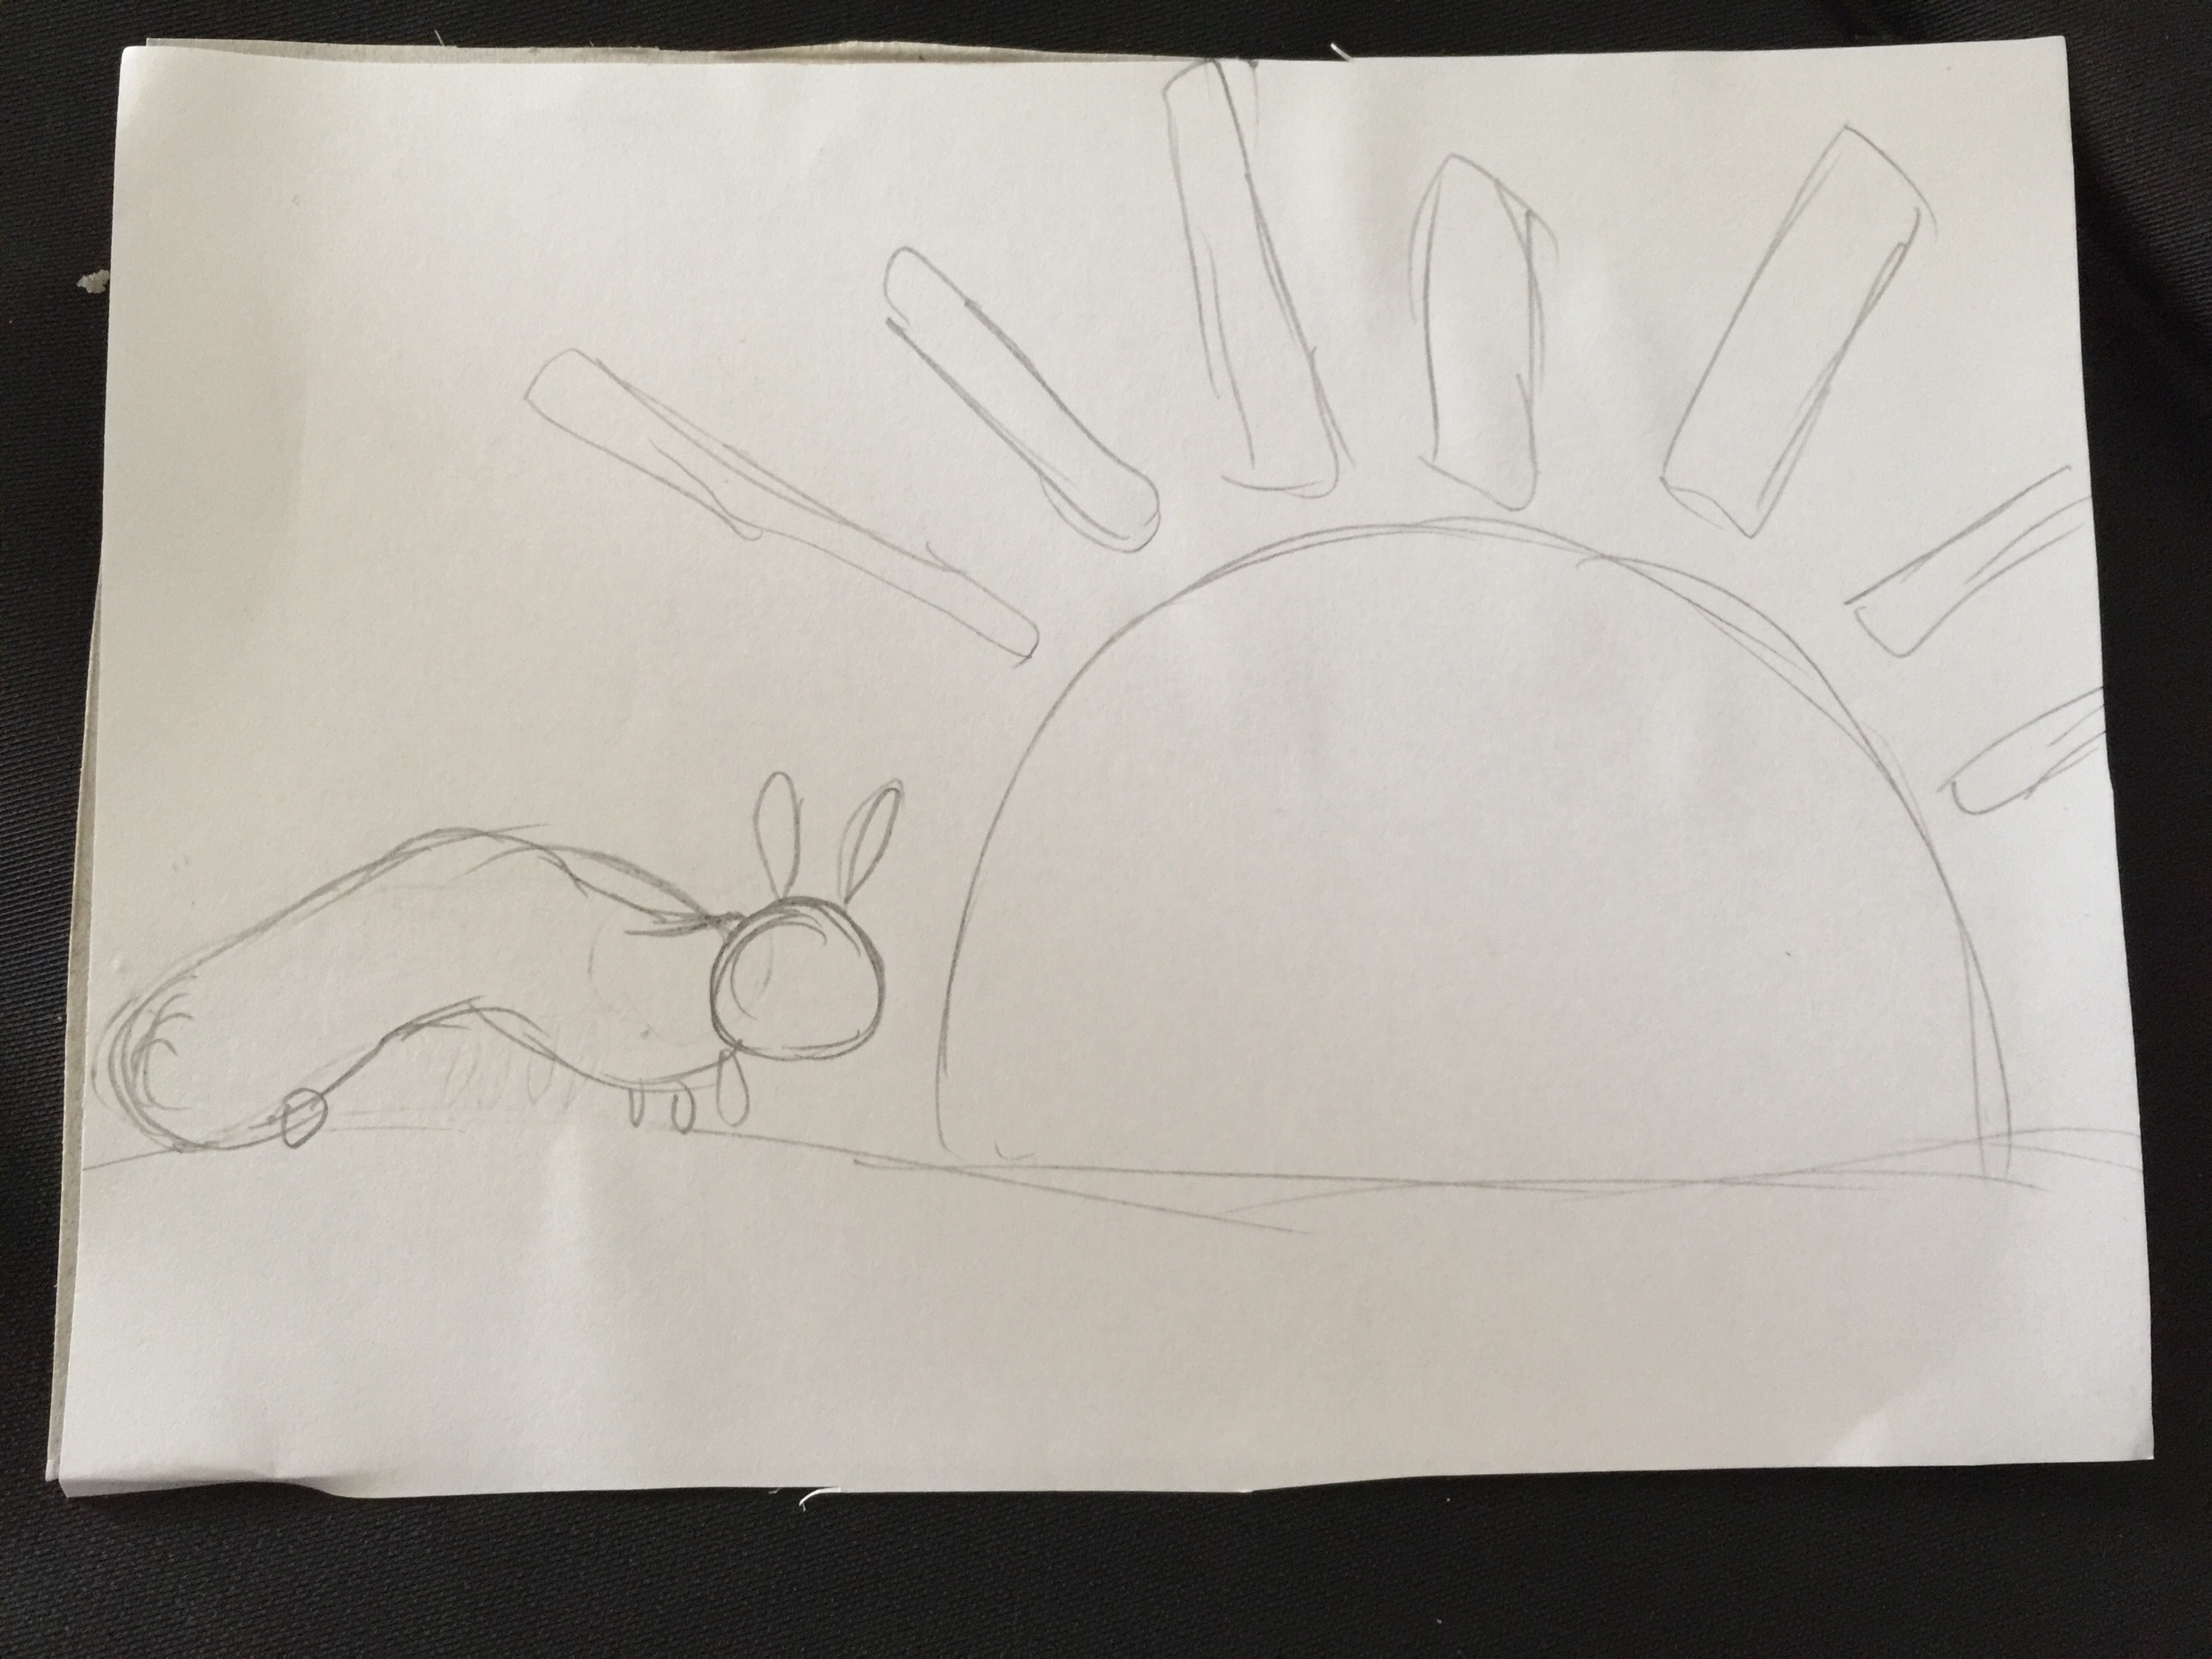
Today we decided that we would tackle the hard scene. The cocoon and the big fat caterpillar. I saw an idea a few months ago for a grass caterpillar ( if you would like to see the original idea you can find it here )

Our twist is that we are adding a cocoon to it. I thought that this idea would be showing the children that a change was happening inside the cocoon.
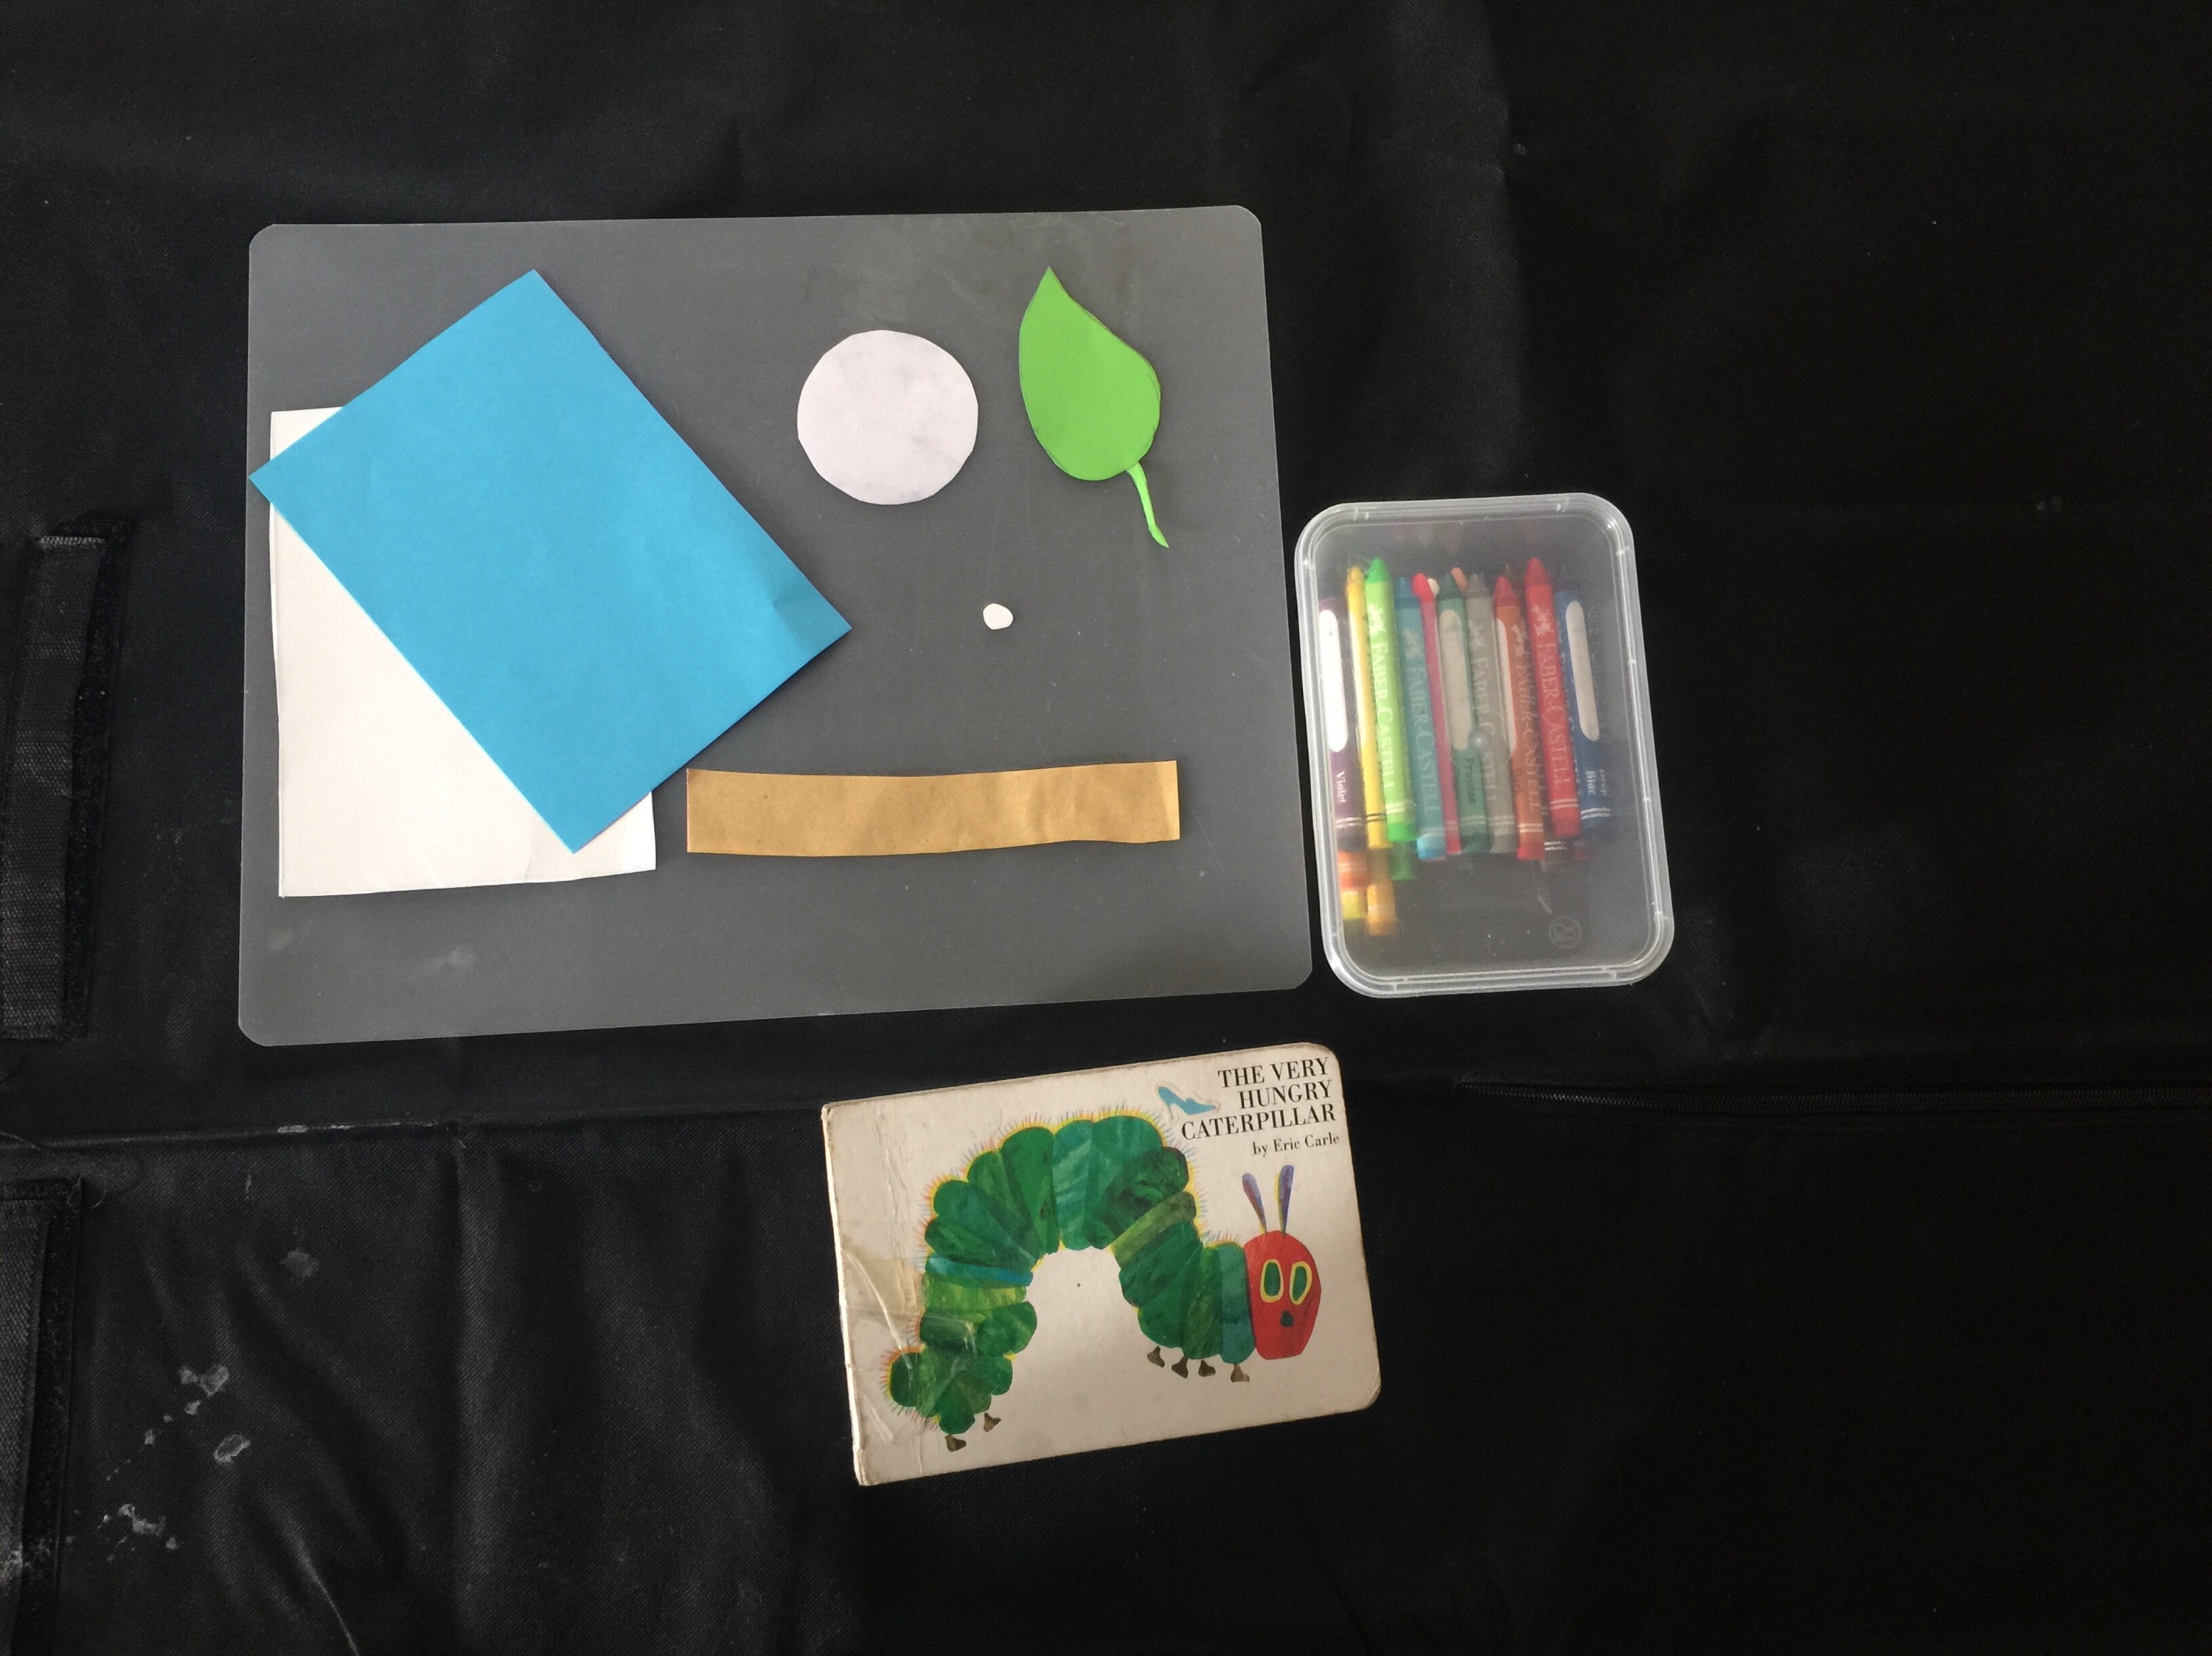
What you will need:
Scissors
Stockings
Grass seed
Paint
1.25 litre soft drink bottle
Hair ties
Googly eyes
Pipe cleaners
Glue gun
Potting mix

2015/01/img_0619.jpg

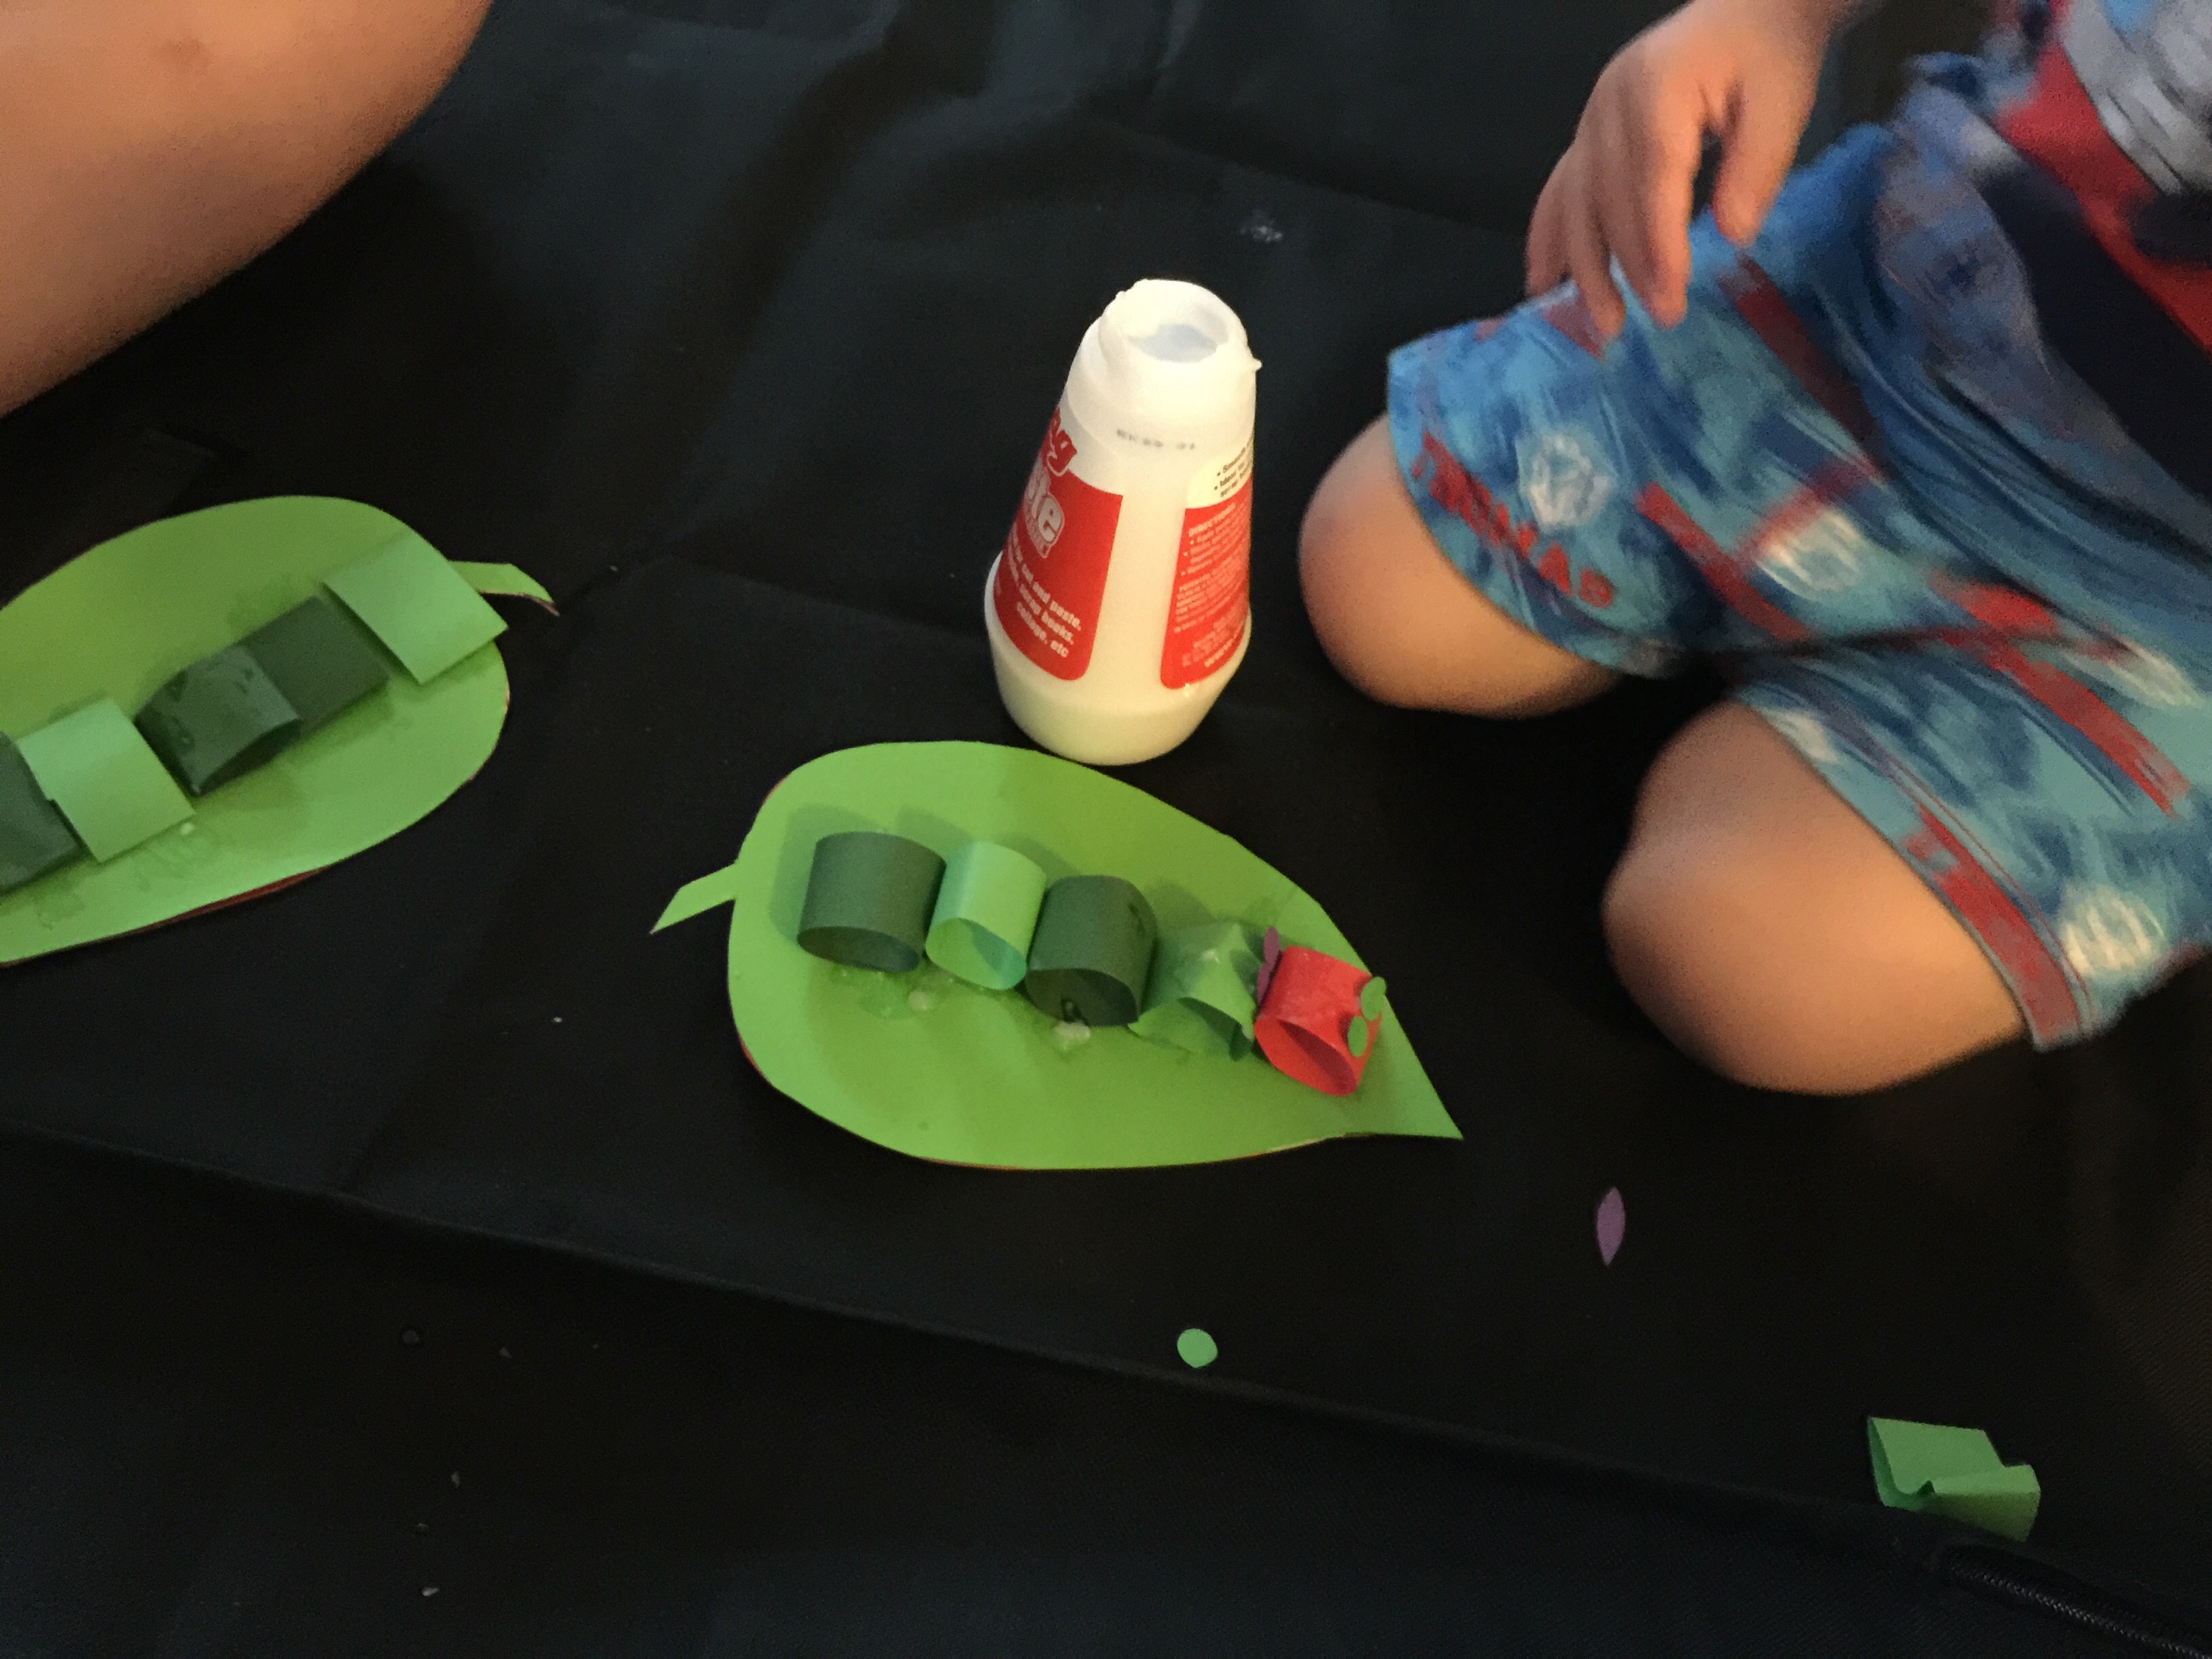
We are going to start with the bottles you will want to cut a large hole in its side like you see here. After we did that we painted it brown, you could use any colour though.

2015/01/img_0627-0.jpg

2015/01/img_0628-0.jpg

2015/01/img_0631-0.jpg

Cut your desired length of stocking out.
For the next step we went outside, you will want to mix the seeds and the dirt together. You can start putting the dirt into the Stocking, once you have enough dirt to make the head, section it off with a hair tie, repeat this process until you are happy with the length.

2015/01/img_0632.jpg

2015/01/img_0633.jpg

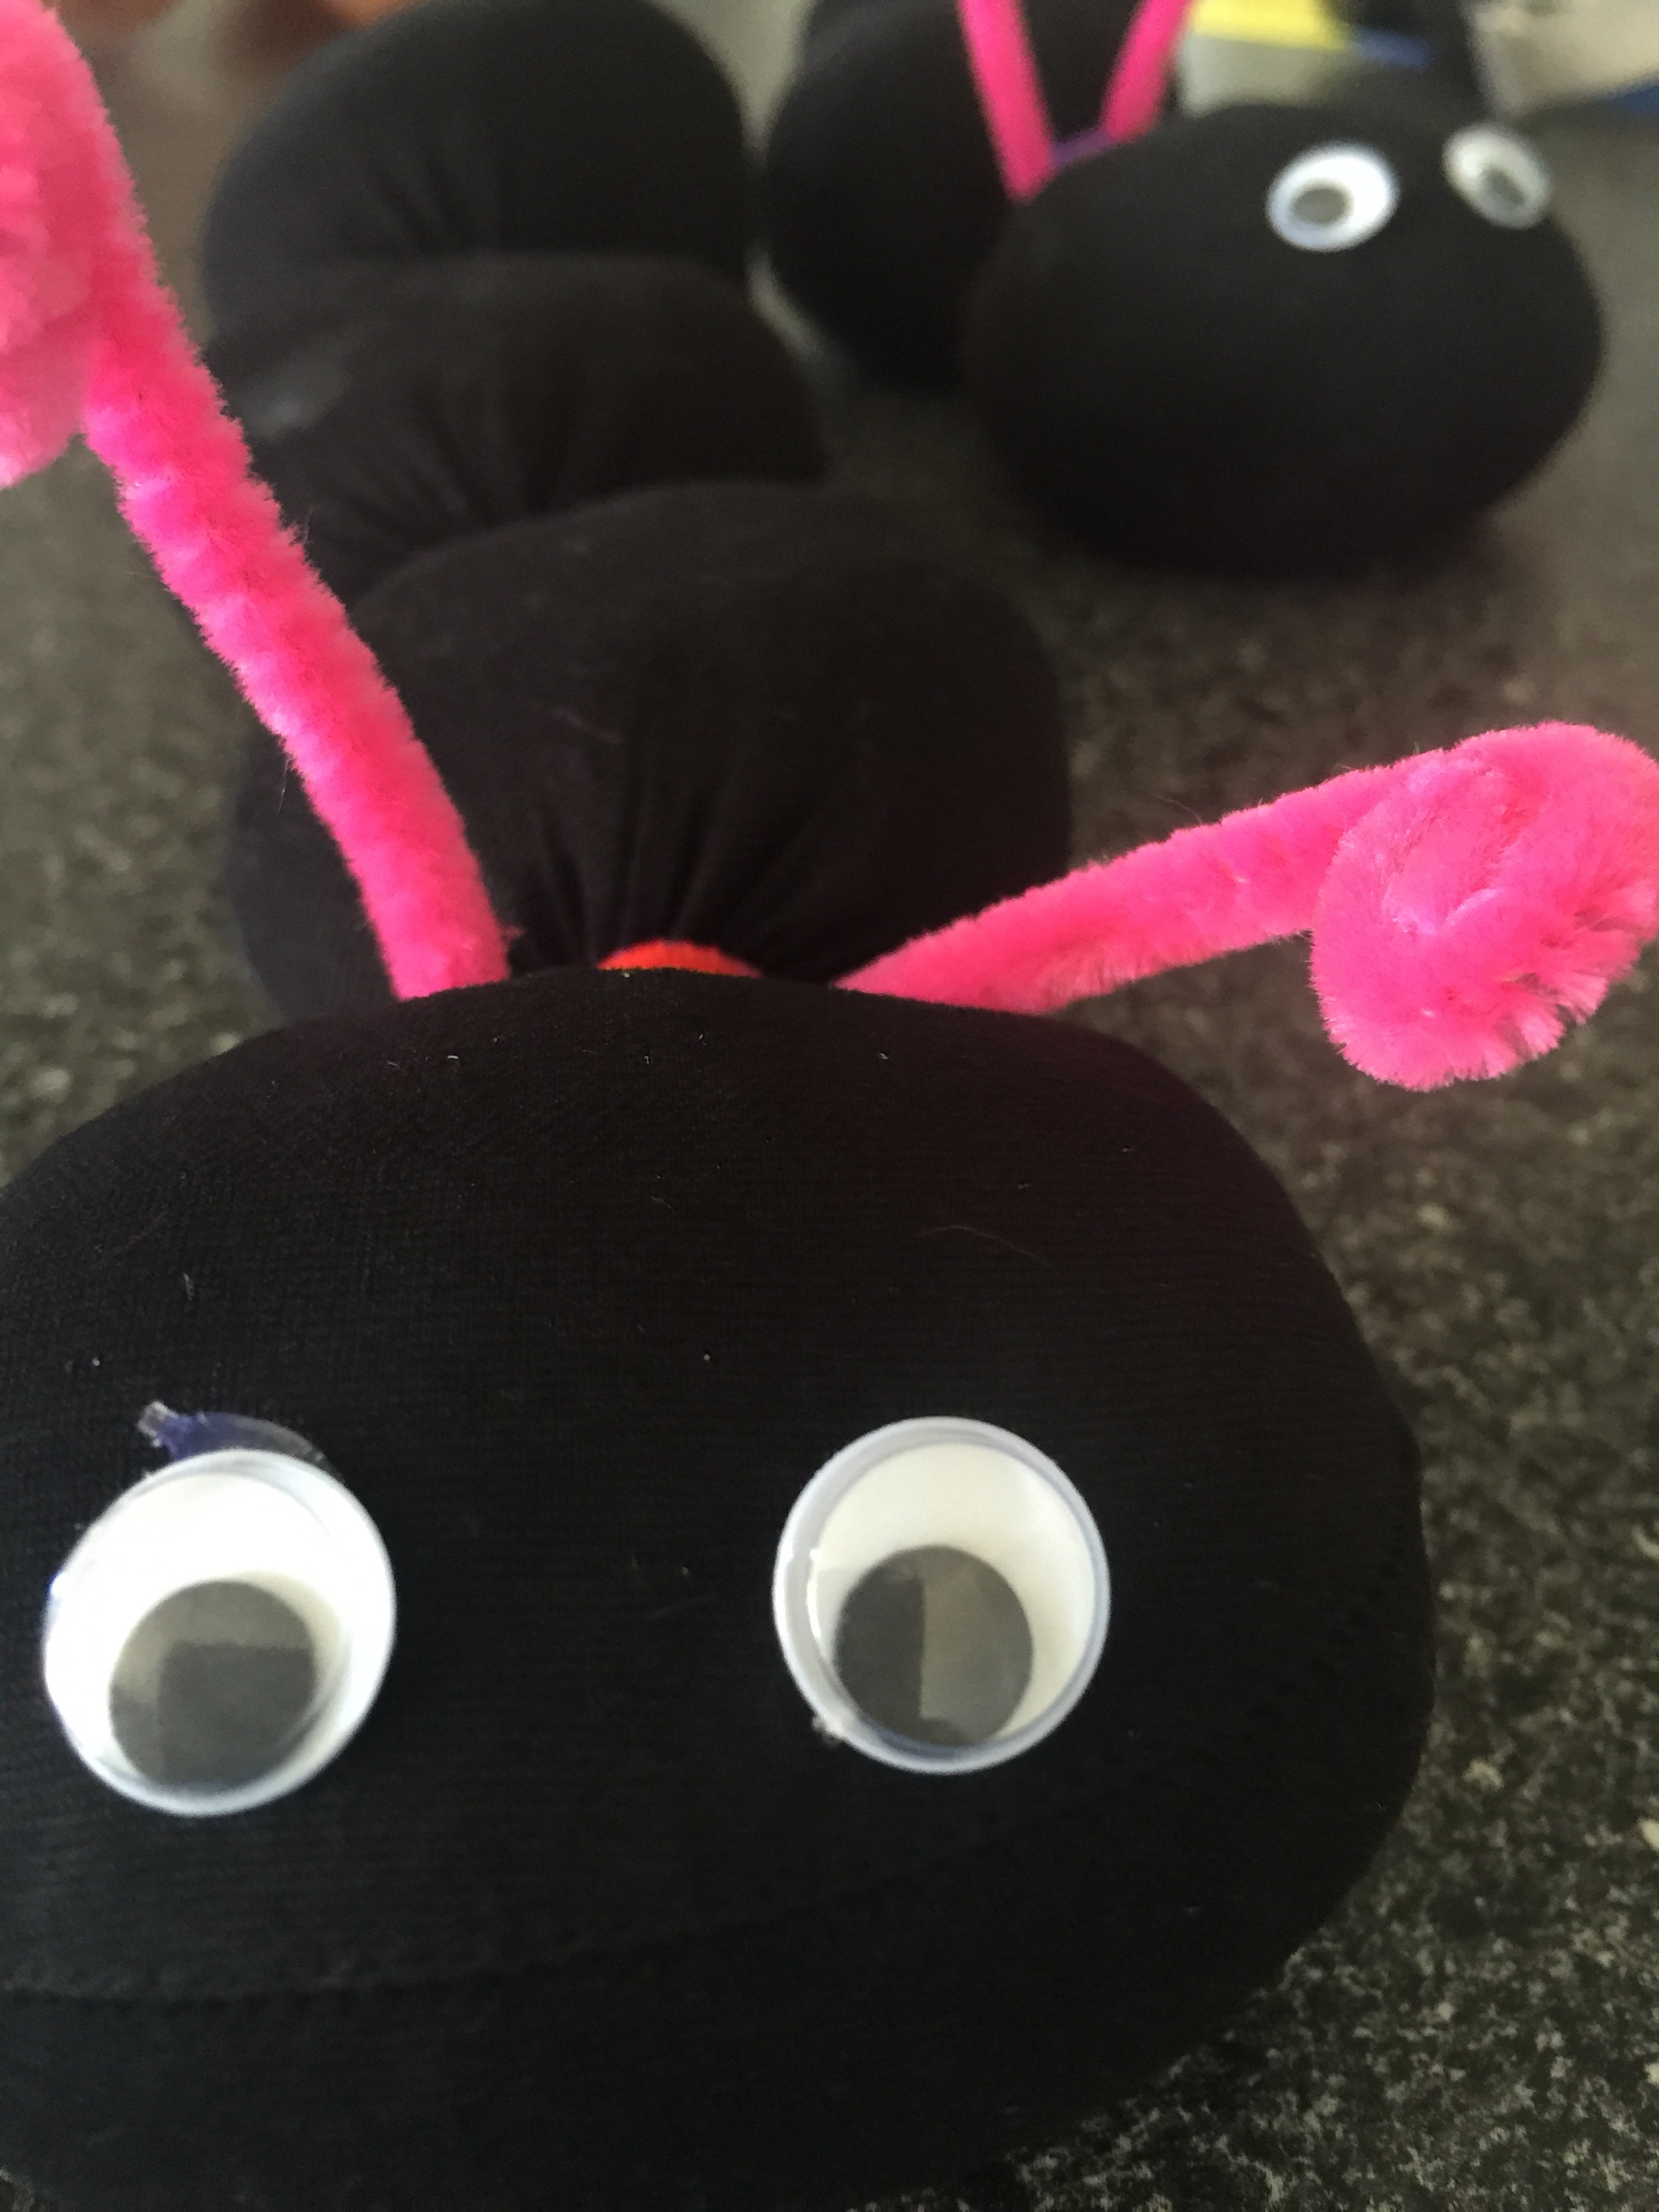
The next part will require an adult, we stuck on the feelers and eyes with the hot glue gun. We then stuck our new friends in their new homes.

Tip: don’t forget to give your new pet a drink every now and then, they prefer to sleep in the sun as well.

I will endeavour to update this post when our little caterpillars start to grow. Until then happy home building.

Day 3- The Very Hungry Caterpillar

Continuing on with our story board theme, I decided to try out ‘ the warm sun came out ‘ scene. I will be honest I was a bit perplexed about what I was going to use and how I was going to create it. But in the end I decided on doing a collage.

Items needed:
Paper
Glue
Cardboard
Scissors
Pencil

2015/01/img_0592.jpg

I cut out about an A5 size of cardboard and glued some white paper on it, I drew my design on it. I will be honest if I were to do Collage again I would make it bigger about an A4 for my toddler as he had trouble filling in the smaller parts. I cut up the paper in small strips and put it all on a plate ready for the kids to use.

2015/01/img_0595.jpg

We decided to try something new and watch The Very Hungry Caterpillar while we worked ( watch it here )

2015/01/img_0596.jpg

2015/01/img_0603.jpg

2015/01/img_0608.jpg

He absolutely had a ball doing this, but as you can see the black texta that I used began to run and made the end result a bit messy. So I decided to make my own, I made the caterpillar bigger and the sun smaller. I only left the grey lead outline to guide me.

2015/01/img_0609.jpg

2015/01/img_0610.jpg

I think the end result speaks for itself, using only the grey lead you don’t get the bleeding look that the black texta gave. The caterpillar looks more formed.

Hope you all have fun making your very own sun scenes.

Fun Fact: Doing art activities like this helps your child improve their hand to eye coordination

Scheduling- free printables

Oh the dreaded subject of schedules and organisation. I’m going to keep this post rather short on the topic. Everyone is always looking to find the perfect one for them or their family and sometimes what works for others just doesn’t work for some.

My daughter is a visual learner, this means that she remembers more what she sees than of what she can hear. For example I could read her Harry Potter the philosopher’s stone and when I had finished the book ask her questions, I can guarantee that her answers would go like this ” I don’t know”, “what are you talking about?” “They do magic” Now say if I put the movie on I could ask the same questions that are relatable both to the book and to the movie. She would answer these correct and if she was in the mood for it, give me a retell of the story.

So my daughter needs a visual schedule much like they use for toddlers and younger children. So it is hard to find a schedule that is reflective of her age bracket or for the activities that are required of her. So last night I decided to make my own, I used MS publisher as it easy to manipulate the pictures and text.

First of all I went to a fantastic site where you can generate images of either analog or digital clocks. ( you can access that site here). I used digital as my daughter responds better and can distinguish the numbers more easily.

2015/01/img_0611.png

This was spread across 3 sheets.

Handy tip – in all MS programs you can save your document as a PDF, this will make for easier file transferring if you are going to email it or upload it to be printed by a third party.

I absolutely struggled to find good cute images to put into the schedule, but a handy Google search led me to some websites that give you free clip art. ( you can go to the one I used here )

The next part was also done in publisher, as you will be able to see it is a fairly simple design, not everything has to be fancy or meticulous, as long as it works is the main thing.

2015/01/img_0617.png

2015/01/img_0614.png

2015/01/img_0616.png

2015/01/img_0615.png

I am pretty happy with the results but for now I am still figuring out what to do after I print them.

PDF files here if you wish to download

digital time

Girlschedule1

Girlschedule2

Girlschedule3

Girlschedule4

To be continued….

Day 2- The Very Hungry Caterpillar

After my last post I decided that I would make a story board with the kids based on The Very Hungry Caterpillar by Eric Carle. I like to think that this will make the story more interactive for the kids so that are able to grasp onto the context of the story more quickly.

Again we started our activity off by watching Eric Carle read the Very Hungry Caterpillar ( you can watch it here ). I never tire of watching this.

Today we made the ‘A little egg lay on a leaf’ scene.

Materials needed:

Coloured paper
Cardboard
Scissors
Glag
Glue stick
Crayons

2015/01/img_0575-0.jpg

As you can see I have again cut out all the pieces for the kids to use. I didn’t have the exact colours I was looking for, but that’s what I plan on using the crayons for. Also if you don’t have coloured paper you can always colour in the sections to you desired colour.

2015/01/img_0577.jpg

All the items laid out on the picnic rug, I’ve also included one of those cheap plastic chopping boards for them to work on.

2015/01/img_0580.jpg

2015/01/img_0581.jpg

2015/01/img_0584.jpg

2015/01/img_0587.jpg

Tip- don’t forget to glue your background on cardboard first.

As you can see we coloured the blue back ground with crayons to try and make it look darker, it turned out ok. The rest was pretty easy, again my toddler just loved the gluing part, he stuck down the moon but I had to finish the rest.

He was pretty happy with the end result and kept saying Moon, Egg, Leaf.

Happy creating, don’t forget to come back tomorrow and see what scene we will be making next.

Fun Fact: New Brain Connections Are Created Every Time You Form a Memory.

The very hungry caterpillar

Let’s kick things off with a family favourite, The very hungry caterpillar. Both my children 9 & 2 absolutely enjoy this book, the beautiful colourful drawings of Eric Carle absolutely draw you in, but we can’t forget the subtlety of his writing either. We are so captivated by what the caterpillar is doing that we don’t realise that we are learning the life cycle of the butterfly, the days of the week or that we are counting.

We tend to focus on a book for about a week. This gives us enough time to understand what is happening in the book and add some new words in the vocabulary for the younger one.

We start off these lessons watching Eric Carle read us the book ( watch it here ) I find that this engages my Autistic daughter more than simply reading her the book.

Then Afterwards we will have a creative lesson, I tend to prepare this earlier as it makes it a smoother transition for the children.

Today we made our very own caterpillar, I got the inspiration for this from one of the teachers that I worked with last year ( Mrs S).

Things that you will need:
Paper- various colours
Glue- I used clag and a glue stick
Scissors
Cardboard
Hole puncher
Glitter that my daughter insisted on

2015/01/img_0555.jpg

I used an a4 sheet of green paper, folded it in half then drew a leaf on it and cut it out. After it was cut out I stuck it onto an empty cereal box to make it more sturdy.

2015/01/img_0560.jpg

I cut various coloured paper into strips then made them into circles ( I used the Glue stick for this) I cut out the eyes and feelers as well.

2015/01/img_0562.jpg

I set everything up on a picnic rug on the floor and we were ready to go.

2015/01/img_0563.jpg

2015/01/img_0566.jpg

2015/01/img_0564.jpg

2015/01/img_0567.jpg

2015/01/img_0568.jpg

As you can see they both had lots of fun, I found that my toddler seemed to enjoy the glueing bit more than anything and needed some help with sticking the pre-made circles on there. My daughter preferred the squished look.

Tip- If you don’t have your desired colour paper, just use plain and colour it in how you like.

Hope you all have lots of fun Listening to the Very Hungry Caterpillar and making your very own beautiful caterpillars.